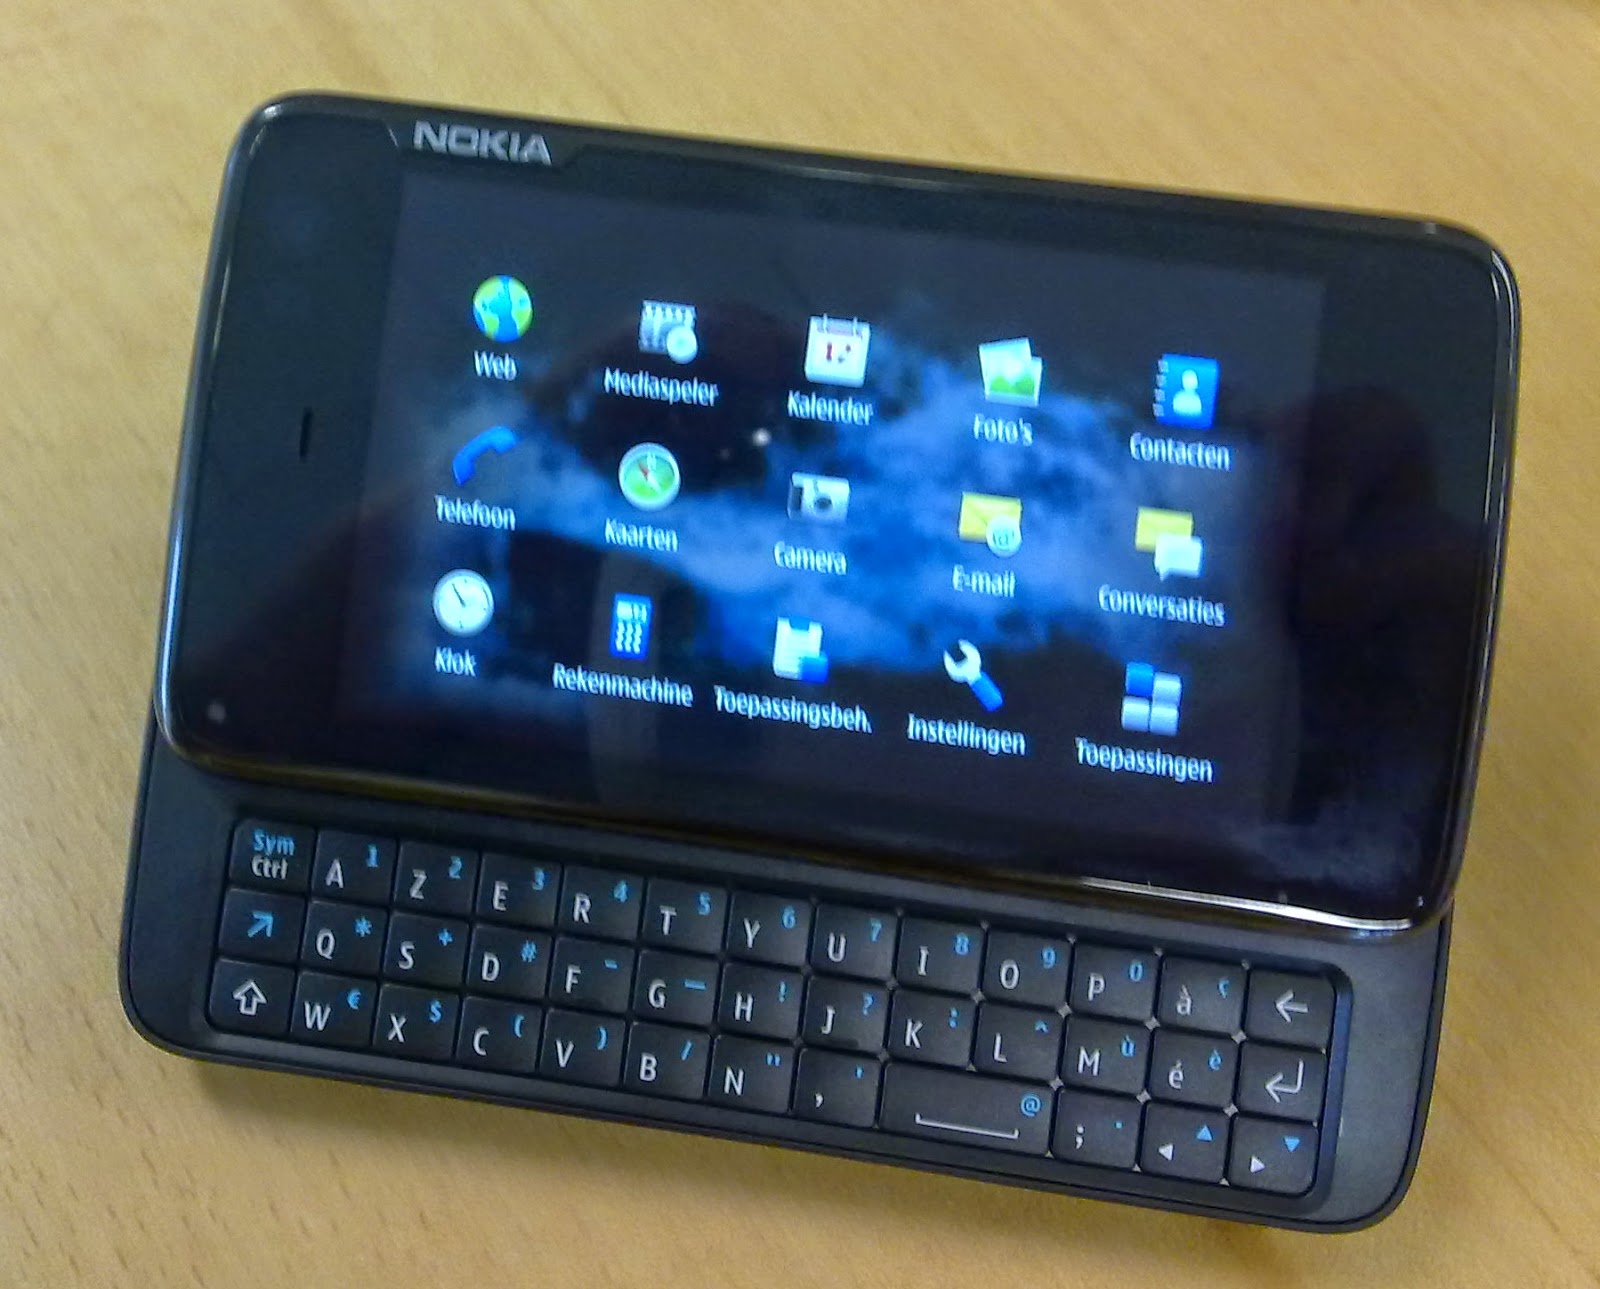
Vertical lines appearing
on LCD screen is very common. Whether the screen belongs to a laptop computer
or desktop PC, mobile phone, or even a television, the fault is usually due to
the ribbon cable and its connections.
Vertical lines appearing
on LCD screen is very common. Whether the screen belongs to a laptop computer
or desktop PC, mobile phone, or even a television, the fault is usually due to
the ribbon cable and its connections.
A faulty ribbon cable can cause all sorts of havoc
manifesting in bright vertical lines. Sometimes they can becoloured lines such
as blue, green, grey, black, and red. The lines can appear thick or thin and on
just one-half of the screen. Sometimes the fault will manifest as two vertical
white lines. You can even get horizontal lines as well.
If you have lines appearing on the LCD screen, then the
first simple thing to check is the seating of the ribbon cable that connects
the display panel to the motherboard. Most of the time, the fault is with the
poor connection made by the ribbon cable.
What
causes lines?
One of the most common problems with ribbon cables is oxidation of
the contacts. It can happen either on the ribbon cable contacts or on the
socket contacts. Manufacturers often use a mix of gold and copper for the
electrical contacts, however, if they have not used enough gold, then oxidation
occurs over time. This results in a working television or laptop screen
suddenly exhibiting lines.
The solution is of course very simple, one needs to clean
the contacts with a high quality electrical contact cleaner. It is best to
clean the socket and the ribbon cable contacts, which will solve the fault.
Cracked
Ribbon Cable
 One of the most common faults with laptops is that the
ribbon cable connecting to the LCD panel cracks. It typically fails near the
hinge area due to flexing in that region, and over time, some of the tracks on
the plastic cable breaks. I have seen these types of faults on many laptops. It
does not matter whether it is a Lenovo, IBM, Acer, Samsung, Toshiba, or even a
MacBook Pro!
One of the most common faults with laptops is that the
ribbon cable connecting to the LCD panel cracks. It typically fails near the
hinge area due to flexing in that region, and over time, some of the tracks on
the plastic cable breaks. I have seen these types of faults on many laptops. It
does not matter whether it is a Lenovo, IBM, Acer, Samsung, Toshiba, or even a
MacBook Pro!
Dislodged
Cable
It is also possible to have a dislodged cable,
which typically occurs on mishandled laptops. The plastic clip
that holds the ribbon cable is very small and delicate and if the laptop
receives an impact, the ribbon cable can dislodge.
This type of fault can also occur on LCD televisions;
however, it tends to be on new units, where the box has received an impact
during transit from the factory.
In this situation, the repair can be easy, as the cable will
simply require reseating. However, there is still the labour time to consider
as it can take the best part of the day to gain access to the ribbon cable.
Troubleshooting
If the laptop has a socket that provides a VGA
output, then the first thing to do is to hook up another good monitor to it
to see if the picture is good. If the picture on another monitor is good, then
you can be sure that thevideo chipset and the motherboard
electronics are operating properly, and it is a connection issue.
I used this same method of troubleshooting to repair an LCD
television recently. Modern televisions have a video out socket, and if you
feed the signal from that to another monitor, you can check for the quality of
the video display. If the external monitor does not show lines, then you know
for sure that it is a connection issue. Hence, this method of troubleshooting
works for some of the modern televisions as well.
Repairing
a Laptop
 When half of the vertical interlace is missing showing a
picture that is broken up vertically, the display appears with vertical lines.
This is usually due to a cracked ribbon cable.
When half of the vertical interlace is missing showing a
picture that is broken up vertically, the display appears with vertical lines.
This is usually due to a cracked ribbon cable.
Generally, for laptops a replacement cable is
always required due to it breaking near the hinge. I had this Dell laptop and
replacing the LCD ribbon cable solved the problem. I managed to buy a
replacement from Dell for a modest price £6.00. The laptop was just outside the
warranty period; however, they still shipped out the cable free of charge. This
is the reason why people buy Dell. In my experience Dell tend to stand by their
customers and products, and their prices for replacement parts are realistic
and down to earth.
Replacing a laptop ribbon cable is simple, and the top-half
of the laptop, and keyboard needs removing to gain access to the socket on the
motherboard side. As you can see, it flexes near the hinge area and breaks
where the ribbon cable wraps around the hinge.
 Description